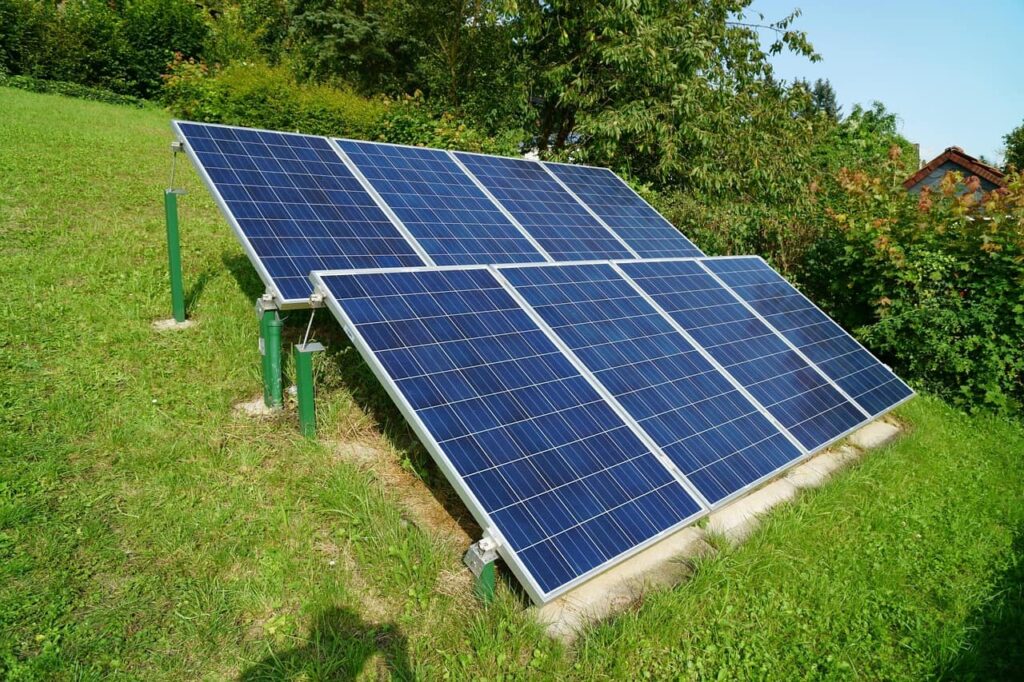
You’ve figured out how many solar panels you need. Now comes a question that trips up almost every DIY installer: should you wire them in series, in parallel, or in some combination of both? The answer directly affects your charge controller choice, your cable costs, and how well your system handles partial shading. Get it wrong and you’ll lose efficiency, overload your controller, or leave power on the table.
Here’s the simple version: series wiring adds voltage, parallel wiring adds current. But the real decision depends on your system voltage, your charge controller type, and the conditions on your roof or mounting site.
Series Wiring: Voltage Goes Up, Current Stays the Same
When you wire solar panels in series, you connect the positive terminal of one panel to the negative terminal of the next — like stacking batteries in a flashlight. The voltages add together while the current stays the same as a single panel.
Take four 600W panels, each rated at 41V and 14.6A at maximum power:
- Series voltage: 41 × 4 = 164V
- Series current: 14.6A (unchanged)
The big advantage is lower current. Lower current means thinner, cheaper cables and less power lost to wiring resistance. For long cable runs between panels and charge controller — anything over 10 meters — series wiring can save significant money and efficiency.
The downside: if one panel is shaded, dirty, or underperforming, it drags down the entire string. Think of it like a kink in a garden hose — the weakest panel limits the current for every panel in the chain.
Series wiring requires an MPPT charge controller for most systems, because the array voltage (164V in our example) is far higher than the battery voltage (typically 24V or 48V). The MPPT controller efficiently converts the high voltage down to your battery voltage, capturing the extra energy rather than wasting it.
Parallel Wiring: Current Goes Up, Voltage Stays the Same
Parallel wiring connects all positive terminals together and all negative terminals together. Now the currents add while the voltage stays the same.
The same four 600W panels wired in parallel:
- Parallel voltage: 41V (unchanged)
- Parallel current: 14.6 × 4 = 58.4A
The major advantage is shade tolerance. If one panel is partially shaded, only that panel’s output drops — the other three continue producing at full power. For installations where trees, chimneys, or neighbouring structures cast moving shadows throughout the day, parallel wiring protects your total production.
The downside: high current requires thicker cables, which cost more and are harder to work with. At 58.4A, you’ll need heavy-gauge copper to keep wiring losses under 2–3%. And your charge controller must handle the full combined current.
Parallel wiring works with either a PWM or MPPT charge controller, as long as the panel voltage is within the controller’s input range. PWM controllers are cheaper but require the panel voltage to be relatively close to the battery voltage — a 41V panel works reasonably with a 24V battery through PWM, but wastes energy with a 48V battery bank since PWM simply clamps voltage rather than converting it.
Series-Parallel: The Best of Both for Larger Systems
Most real-world systems with four or more panels use a combination called series-parallel wiring. You create “strings” of panels wired in series, then connect those strings in parallel.
Example: those same four 600W panels arranged as two strings of two (2S2P):
- String voltage: 41 × 2 = 82V
- Combined current: 14.6 × 2 = 29.2A
This gives you a balanced middle ground — moderate voltage for efficient MPPT conversion, moderate current for reasonable cable sizing, and some shade resilience since each string operates independently. If one panel in String A is shaded, String B continues producing at full power.
For a six-panel system (3S2P — three panels per string, two strings in parallel):
- String voltage: 41 × 3 = 123V
- Combined current: 14.6 × 2 = 29.2A
Series-parallel is the standard approach for systems above 2 kW and is what most MPPT charge controllers are designed to handle.
How to Choose: The Three Questions That Decide Your Wiring
1. What’s your battery voltage?
Your system voltage is the starting point. A 12V battery bank needs panel voltage close to 18–20V for PWM, or higher for MPPT. A 48V bank needs at least 60V from the array for MPPT to work efficiently. This determines the minimum number of panels per series string.
2. MPPT or PWM charge controller?
If you’re using a PWM controller (budget option for small systems under 400W), wire panels in parallel and keep the array voltage within a few volts of the battery voltage. If you’re using an MPPT controller (recommended for any system above 400W), series or series-parallel wiring lets you take advantage of the controller’s voltage conversion, boosting efficiency by 20–30% compared to PWM.
3. Do you have shading issues?
If part of your array gets shaded during the day, favour parallel wiring or shorter series strings. Each independent string or parallel-connected panel can operate at its own maximum without being dragged down by a shaded neighbour. For shade-free installations (ground mounts in open fields, unobstructed rooftops), series wiring captures the full efficiency advantage.
How Wiring Affects Your Charge Controller Size
Your wiring configuration doesn’t change the total power your panels produce — four 600W panels always produce 2,400W total. But it changes the voltage and current your charge controller must handle on the input side.
Our calculator sizes the charge controller using this formula: total system watts divided by battery voltage, multiplied by a 25% safety margin. For a 2,400W array on a 48V battery bank:
Charge controller: (2,400 ÷ 48) × 1.25 = 62.5A, rounded up to 63A
That’s the output (battery-side) current the controller needs to handle. But you also need to check the input specifications:
- All series (164V, 14.6A): You need a controller rated for at least 164V input — most 150V controllers won’t work. Look for a 200V or 250V MPPT unit.
- 2S2P (82V, 29.2A): Fits comfortably within a standard 100V or 150V MPPT controller’s input range. This is the most common and practical configuration.
- All parallel (41V, 58.4A): The low voltage works with PWM on a 24V bank but wastes energy on 48V. The high current requires a controller with a very high input current rating.
The 2S2P configuration is the sweet spot for most off-grid systems: it keeps the input voltage within standard MPPT controller limits while keeping current manageable.
Find Your Charge Controller Size in Seconds
Our Solar System Calculator sizes your charge controller based on your total panel wattage and battery voltage — with the 25% safety margin built in. Enter your panels, select your battery voltage, and you’ll instantly see the minimum charge controller amperage you need.
From there, match the controller’s input voltage limit to your chosen wiring configuration. For most systems, the rule is simple: wire in series-parallel strings that keep the array voltage below your MPPT controller’s maximum input voltage, and you’re set. Account for the system losses that wiring itself introduces — typically 2–3% — and you’ll have a system that delivers every watt your panels can produce.